 iVIGA Faucet Manufacturer & Factory

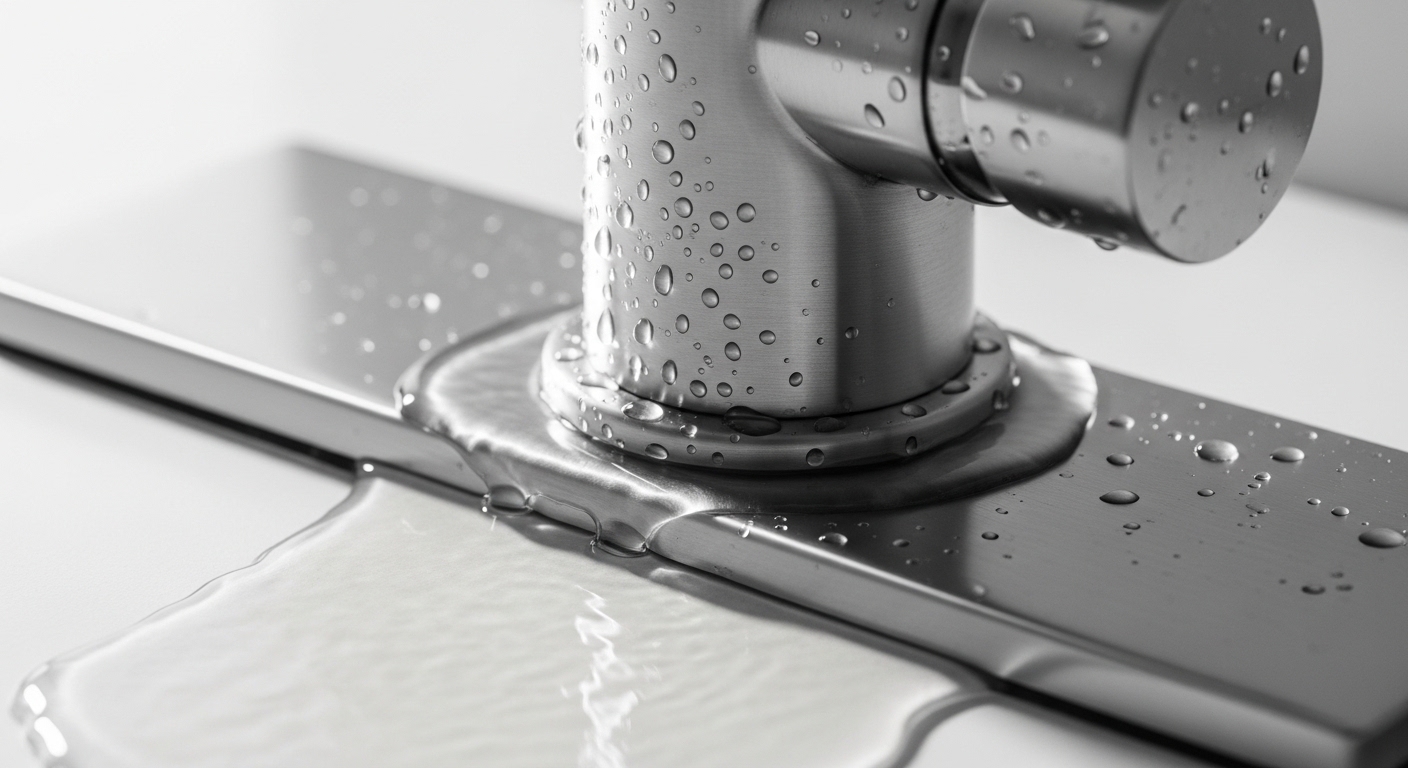
Learning how to fix a leaky faucet handle on a kitchen sink is one of the most satisfying 30-minute repairs you can do, and it saves you a $150+ plumber call for what is usually a $12 part. The water seeping out from under or behind the handle isn’t coming through the spout — it’s escaping past a seal inside the valve body. Once you know which seal, the fix is mechanical and honestly pretty easy. Below I’ll walk you through diagnosing the exact cause, the tools you need, the step-by-step repair for both single-handle and two-handle faucets, and when a leak is telling you to just replace the whole faucet instead.
I’ve rebuilt and bench-tested hundreds of cartridge and ceramic-disc valves, so I’ll flag the small mistakes (over-tightening, mismatched O-rings, forgetting the water is still on) that turn a quick job into a wet afternoon.
Why is water leaking from around my kitchen faucet handle and not the spout?
Water leaking from around the handle — rather than dripping from the spout — means an internal seal has failed, letting pressurized water escape up past the handle instead of staying inside the valve. The three usual suspects, in order of how often I see them, are a worn cartridge, a cracked or flattened O-ring, and a loose valve-retaining nut.
Here’s the quick logic: your handle sits on top of a valve (a cartridge or a ceramic disc). Every time you move the handle, seals inside that valve slide against metal or ceramic. Over years, mineral grit and normal wear chew up those seals. When the top seal goes, water finds the path of least resistance — up around the handle stem — and you see it weeping out whenever the faucet is on, or pooling on the deck.
- Leaks only when the faucet is running: usually a worn cartridge or a bad stem O-ring.
- Leaks constantly, even when off: more likely a cracked valve body or a supply-side issue below the deck — check under the sink first.
- Leaks and the handle feels loose or wobbly: almost always a loose retaining nut or a stripped handle set screw.
Before you buy anything, dry everything with a paper towel, run the faucet, and watch exactly where the first bead of water appears. That 20-second observation tells you which part to pull.
What tools and parts do I need to fix a leaky faucet handle?
For a typical kitchen faucet handle repair you need a hex (Allen) key, an adjustable wrench or channel-lock pliers, a flathead screwdriver, plumber’s grease, and the correct replacement part — usually a cartridge or an O-ring kit. Total cost is $10–$40 depending on brand.
Don’t guess on the replacement part. The single biggest reason a “fixed” faucet still leaks is a cartridge or O-ring that’s *almost* the right size. Bring the old part to the store, or better, find your faucet’s model number (often stamped under the spout or on the original paperwork) and order the exact OEM cartridge. A Moen 1225 is not a Delta RP, and a generic O-ring that’s a hair too thin will weep within a week.
| Tool / Part | What it’s for | Typical cost |
|---|---|---|
| Hex / Allen key set | Loosening the handle set screw | $6–$12 |
| Adjustable wrench | Removing the retaining nut / cartridge nut | $10–$18 |
| Replacement cartridge (OEM) | The core fix for most handle leaks | $15–$35 |
| O-ring / seal kit | For stem or spout-base leaks | $5–$12 |
| Silicone plumber’s grease | Lubricating new seals so they don’t tear | $5–$8 |
| Cartridge puller (some brands) | Extracting a stuck cartridge | $12–$20 |
One tip most tutorials skip: use silicone-based plumber’s grease, never petroleum jelly. Petroleum products degrade rubber O-rings and you’ll be back inside the faucet in a few months. If your leak is really a mineral-buildup problem seizing the cartridge, it’s worth reading up on the right hard water cleaner for a faucet with stubborn lime buildup before you reassemble, because caked lime will chew through a new seal fast.
How do you fix a leaky single-handle kitchen faucet, step by step?
To fix a leaky single-handle kitchen faucet, shut off the water, pull the handle and cartridge, replace the cartridge or its seals, and reassemble in reverse — about 30 minutes. Single-handle faucets use one cartridge that controls both temperature and flow, so it’s the part you’ll almost always be swapping.
- Shut off the water. Turn both angle-stop valves under the sink clockwise until snug. Then open the faucet to release pressure and confirm the water is truly off — this is the step people skip and regret.
- Plug the drain. Drop in a rag or the sink stopper so the set screw or clip can’t vanish down the drain.
- Remove the handle. Pry off the decorative cap if there is one, then loosen the set screw with your hex key. Lift the handle straight up. If it’s stuck from mineral crust, wiggle gently — don’t lever against the spout.
- Expose the cartridge. You’ll see a retaining nut or a horizontal brass clip. Unthread the nut with your wrench, or slide out the clip with a flathead or needle-nose pliers.
- Pull the cartridge. Grip the stem and pull straight up. If it resists, a brand-specific cartridge puller does it cleanly without cracking the valve body.
- Inspect and replace. Look at the O-rings and the cartridge body. If a seal is flat, cracked, or torn, replace it. If the cartridge is scored or crusty, replace the whole cartridge — it’s cheap insurance.
- Grease and reinstall. Coat the new O-rings with a thin film of silicone grease, seat the new cartridge in the same orientation as the old one (note any flat or notch that indexes it), reinstall the clip or nut, and refit the handle.
- Turn water on slowly and test. Reopen the angle stops gradually, run hot and cold, and watch the handle base for weeping. Cycle the handle through its full range a few times.
If your faucet is more than 12–15 years old and parts are hard to find, this repair is also a natural moment to upgrade. If you go that route, our guide on how to properly install a kitchen faucet without calling a plumber walks through the full swap.
How do you fix a leak on a two-handle kitchen faucet?
On a two-handle kitchen faucet, a handle leak is isolated to whichever side is weeping — so you only rebuild the hot or cold valve that’s failing. These faucets use either a rubber-washer stem (older compression style) or a ceramic-disc/cartridge stem (newer). The washer or the stem O-ring is your target.
The process mirrors the single-handle job: shut off the affected supply, remove the handle screw and handle, then unthread the valve stem with a wrench. On a classic compression faucet, you’ll find a rubber seat washer held by a brass screw at the bottom of the stem — replace that washer and, while you’re in there, the packing/stem O-ring. On a ceramic-cartridge model, swap the whole stem cartridge.
A detail worth knowing: if the leak is at the *base of the spout* on a widespread or two-handle unit rather than at a handle, that’s usually a spout O-ring, not a valve. It’s a different (and often easier) fix. We break down that exact scenario in why a widespread faucet drips and whether to repair or replace it, which is worth a read if you’re not 100% sure where your water is coming from. And if you find corroded mounting hardware while you’re under there, our primer on bathroom faucet nuts and which one you actually need covers the connectors most people overlook.
Single-handle vs. two-handle: which leak is easier to fix?
Single-handle faucets are simpler to diagnose (one cartridge does everything) but the cartridge can be pricier and occasionally stuck; two-handle faucets are cheaper per part and easier to source washers for, but you have two valves that can each fail. Here’s how they compare for a DIY handle repair.
| Factor | Single-handle | Two-handle |
|---|---|---|
| Parts to replace | One cartridge | Washer or stem on the failing side only |
| Typical part cost | $15–$35 | $5–$20 |
| Diagnosis | Easy — one valve | Easy — leak side is obvious |
| Hardest step | Extracting a seized cartridge | Freeing a corroded stem |
| Time for a first-timer | 30–45 min | 25–40 min per side |
Bottom line: neither is hard. The difficulty is almost never the design — it’s whether hard-water scale has cemented the parts in place. Faucets in soft-water homes practically fall apart in your hands; faucets on well water or hard municipal supply can fight you.
When should you just replace the faucet instead of repairing the handle?
Replace the whole faucet — rather than repair the handle — when the valve body is cracked, when replacement cartridges are discontinued, when you’ve already rebuilt it once in the last year or two, or when the faucet is 15+ years old and the finish is failing. At that point you’re pouring money and time into a part that’s going to leak somewhere else next.
Some concrete decision points:
- You can’t find the cartridge. Off-brand or very old faucets often have discontinued internals. A new faucet is more reliable than a jury-rigged seal.
- The leak is from a hairline crack in the brass or zinc body. No seal fixes a cracked casting.
- Multiple leaks at once — handle, spout base, and supply connection — signal a faucet at end of life.
- You want a feature upgrade anyway, like a pull-down sprayer or a taller gooseneck. Repair time is a good moment to switch.
When you do shop for a replacement, look for a solid-brass valve body and a ceramic-disc cartridge rated to industry cycle-testing standards (a good cartridge is bench-tested to 500,000+ open/close cycles). Those two specs are the biggest predictors of a faucet that won’t be back on your repair list in five years.
Author note & why you can trust this guide
This guide was written by the vigacc product and technical team. vigacc (viga.cc) designs and manufactures kitchen and bathroom faucets, shower systems, and fixtures, and every cartridge and valve we ship is life-cycle tested and built to meet North American plumbing standards (including lead-free wetted-surface requirements). Our faucets carry a limited lifetime warranty on the finish and drip-free ceramic cartridge, which is exactly why we know these failure points so well — we track every warranty return and design the next generation of seals around them. The steps above reflect how our own service techs diagnose a handle leak on the bench.
FAQ
Can I fix a leaky faucet handle without turning off the water?
No — and please don’t try. The moment you loosen the retaining nut or pull the cartridge, pressurized water will spray up out of the valve body. Always close both under-sink shutoff valves and relieve pressure by opening the faucet before you disassemble anything.
Why does my kitchen faucet handle still leak after I replaced the cartridge?
Nine times out of ten it’s the wrong cartridge or an O-ring you didn’t seat correctly. Confirm the replacement is an exact OEM match for your model, make sure the cartridge is indexed (rotated) to the same position as the old one, and check that you greased and fully seated every O-ring. A pinched or dry O-ring will weep immediately.
How much does it cost to fix a leaky kitchen faucet handle?
DIY, it’s usually $10–$40 in parts — a cartridge or an O-ring kit plus a tube of silicone grease. Hiring a plumber typically runs $125–$250 depending on your area and whether they supply the part. Given the repair takes most people under an hour, DIY is where the real savings are.
How do I know if it’s the cartridge or just an O-ring?
Pull the cartridge and inspect it. If the O-rings on the outside of the cartridge are flat, cracked, or torn but the cartridge body itself is smooth and clean, replace just the O-rings. If the cartridge body is scored, pitted, crusted with scale, or the plastic is cracked, replace the whole cartridge. When in doubt, replace the cartridge — it comes with fresh seals anyway.
Is a dripping spout the same problem as a leaking handle?
Related, but not identical. A spout that drips when the faucet is off usually points to a worn cartridge seat or seals inside the valve. Water escaping around the handle points to the top seals or a loose retaining nut. Both often trace back to the same worn cartridge, so replacing it frequently cures both symptoms at once.
How long should a new faucet cartridge last?
A quality ceramic-disc cartridge that’s properly installed and not fighting heavy scale should last 10–15 years, and premium ones are cycle-tested to well over 500,000 uses. Hard water is the main enemy — periodic descaling of the aerator and faucet keeps grit from prematurely chewing up those seals.
WeChat
Scan the QR Code with WeChat