 iVIGA Faucet Manufacturer & Factory

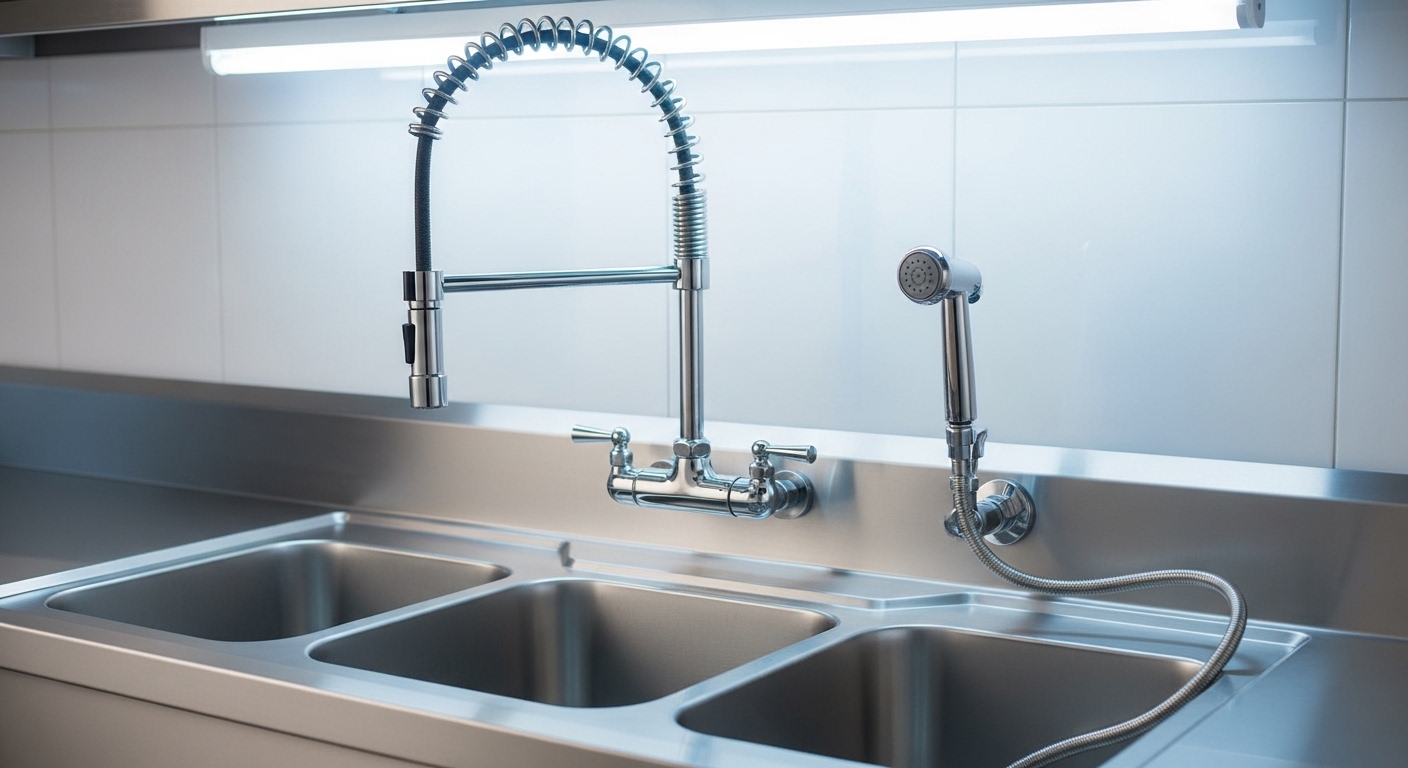
Getting a commercial kitchen sink faucet installation right is less about brute strength and more about matching the faucet to the sink’s hole configuration, meeting local plumbing code, and sealing every threaded joint so it survives years of high-volume use. Unlike a residential swap, a commercial job has to satisfy a health inspector, handle boiling-hot dish water, and keep a busy line moving. This guide walks you through the exact specs, tools, sequence, and gotchas — in plain language, from someone who has installed and specced these for restaurants, cafeterias, and janitor closets.
What makes a commercial kitchen faucet different from a home one?
A commercial kitchen faucet is built to a heavier duty cycle and a stricter standard than anything you’d put on a home sink. The core differences: brass or heavy stainless bodies instead of zinc, ceramic-disc cartridges rated for hundreds of thousands of cycles, 8-inch fixed centers (not adjustable widespread), and — critically — NSF/ANSI 61 and NSF/ANSI 372 (lead-free) certification that a health inspector will actually look for.
Here’s what that means on the ground. Home faucets typically use 4-inch centerset or 8-inch widespread with a flexible deck. Commercial units lock to a rigid 8-inch center-to-center spacing because they’re built to accept add-ons: pre-rinse spring assemblies, add-on faucets, and swing spouts up to 12 inches. The spout swings a full arc so it can service two or three sink compartments from one base. And the whole thing is designed to be serviced without pulling it off the wall — you rebuild the cartridge in place.
- Body material: forged brass or 304 stainless — no pot metal.
- Flow rate: commonly 1.5–2.2 GPM for hand sinks; pre-rinse units spray at higher pressure.
- Centers: standardized 8-inch (203 mm) so parts interchange across brands.
- Certification: NSF/ANSI 61 & 372, plus a UPC/cUPC listing in most U.S. jurisdictions.
- Handles: wrist-blade or lever handles so staff can operate them with a forearm — required in many food-prep zones.
Which faucet type fits my sink: wall-mount, deck-mount, or pre-rinse?
Match the faucet to how your sink is drilled and what you’re washing. Wall-mount 8-inch splash-mount faucets are the default for 3-compartment ware sinks; deck-mount goes on prep sinks and hand sinks with pre-drilled holes; a pre-rinse unit is what you add when you’re blasting stuck-on food off pans before they hit the dishwasher.
Look at the sink first, not the faucet. Flip it or check the backsplash for the mounting holes and their spacing. If the holes are 8 inches on center on the wall/backsplash, you need a splash-mount (wall) faucet. If they’re on the deck of the sink, you need a deck-mount. Guessing wrong here is the number-one reason a “quick” install turns into a return trip. If you’re weighing a taller arc for filling stockpots, a centerset gooseneck faucet gives you clearance a standard swing spout can’t.
| Faucet type | Best for | Typical spout | Install difficulty |
|---|---|---|---|
| Wall-mount splash (8″ center) | 3-compartment ware sinks, mop/utility sinks | 8–12″ swing | Moderate |
| Deck-mount 8″ center | Prep sinks, hand-wash stations | 6–8″ swing or gooseneck | Easy |
| Pre-rinse spring unit | Dish areas, heavy pan washing | Tall spring + spray valve | Moderate–hard |
| Wall-mount with side sprayer | Janitor/utility rooms, filling buckets | Rigid + hose spray | Moderate |
For a janitor closet or a service sink specifically, a dedicated utility setup often beats a kitchen unit — our guide to the best wall mount utility faucet with sprayer breaks down the tradeoffs for those rooms.
What tools and parts do I need before I start?
You need five hand tools and a small parts kit — no specialty gear. Gather everything before you shut the water off so you’re not running to the truck mid-job with the supply capped.
- Basin wrench — reaches the mounting nuts behind and under the sink where a regular wrench won’t fit.
- Adjustable wrench + channel-locks — for supply nuts and the escutcheon locknuts.
- PTFE thread tape and pipe joint compound — tape on straight threads, dope on tapered threads; many pros use both on commercial connections.
- Braided stainless supply lines — sized 3/8″ compression to 1/2″ FIP is common; confirm your stops.
- New gaskets/escutcheon and a bucket + rags — never reuse a hardened old gasket.
If your supply stops are old or the wrong size, that’s a separate rabbit hole. Understanding how a faucet supply line tee works helps when you need to branch a line to feed a pre-rinse unit and a filler faucet off the same stop.
How do you actually install a commercial kitchen sink faucet, step by step?
Shut off water, mount the faucet body to the wall or deck with fresh gaskets, connect the supply lines with taped threads, then pressure-test for leaks before you trust it. The full sequence for a standard 8-inch wall-mount unit runs like this:
- Shut off and drain. Close the hot and cold stops (or the main). Open the old faucet to relieve pressure and drain the lines into a bucket.
- Remove the old faucet. Disconnect supplies, back off the mounting nuts with the basin wrench, and lift it clear. Scrape off old plumber’s putty or gasket residue down to clean metal.
- Dry-fit the new body. Set the faucet on the 8-inch centers and confirm it sits flush and the spout clears all sink compartments before committing.
- Seal and mount. Seat the supplied gasket/escutcheon, run the shanks through the holes, and hand-tighten the locknuts, then snug with the basin wrench. Don’t overtighten — you’ll crack a gasket.
- Connect supplies. Wrap PTFE tape clockwise on the threads, thread on the braided lines by hand first (to avoid cross-threading), then wrench them a quarter-turn past hand-tight.
- Attach the spout/spring unit. Install the swing spout with its O-ring, or the pre-rinse riser and spray valve per the parts diagram.
- Slowly open the stops. Crack the valves open and watch every joint. Run hot and cold, swing the spout through its full arc, and check the spray valve trigger.
The mechanics of connecting supplies and setting the escutcheon are nearly identical across kitchen faucets — if you want a deeper walk-through of that core sequence, our guide on how to properly install a kitchen faucet without calling a plumber covers the supply-line and seating steps in more detail.
How long does it take, and what does it cost to have it done?
A straightforward single-faucet swap takes a handy person 60–120 minutes and costs roughly $75–$250 in professional labor, plus the faucet. A full new install with new stops, a pre-rinse assembly, and backflow prevention can run 2–4 hours and $250–$600 in labor depending on your market and whether a licensed plumber is required by code.
Three things drive the time and cost up: corroded or seized old fittings, wrong-size supply stops that need swapping, and code requirements like an air gap or vacuum breaker on the pre-rinse. If you’re doing it yourself, budget for the fact that the old parts almost never come off as cleanly as the new parts go on. Commercial kitchens also often need the work inspected — so confirm your jurisdiction’s rules before you close up the wall.
| Scenario | Time | Typical labor cost (U.S.) |
|---|---|---|
| Direct swap, good existing stops | 1–2 hrs | $75–$250 |
| Swap + new supply stops/lines | 2–3 hrs | $150–$400 |
| New pre-rinse + backflow protection | 3–4 hrs | $300–$600 |
What are the most common mistakes and how do you avoid them?
The mistakes that cause callbacks are almost always sealing errors, wrong hole spacing, and skipping code-required backflow protection. Avoid those three and your install will pass inspection and stay dry.
- Overtightening the mounting nuts. You crack the gasket or crush the escutcheon and get a slow drip. Snug is enough.
- Reusing old gaskets and putty. Hardened rubber won’t reseal. Always use the fresh gasket that ships with the faucet.
- Cross-threading supply lines. Start every threaded fitting by hand before touching a wrench.
- Ignoring the vacuum breaker. Many codes require an atmospheric vacuum breaker or air gap on pre-rinse and hose-connected fixtures. Skip it and you fail inspection.
- Wrong centers. Forcing a 4-inch faucet onto 8-inch holes (or vice-versa) — measure center-to-center twice before you buy.
One more that’s easy to miss: hard water. Commercial kitchens push huge volumes of water through these spouts, so lime scale builds fast on the aerator and spray valve. Keeping a bottle of the right hard water cleaner for your faucet on hand and descaling monthly keeps flow strong and prevents the drips that start at a scaled-up seal.
Do I need a plumber, or can I install it myself?
You can DIY a like-for-like faucet swap in most places, but new commercial plumbing — new supply runs, backflow devices, or anything the health department inspects — often legally requires a licensed plumber. Check your local code before you start, because a self-done install that fails inspection costs more to fix than doing it right the first time.
The honest rule of thumb: if you’re swapping an existing faucet onto existing, working stops, and you’re comfortable with a basin wrench, do it yourself. If you’re adding a fixture, moving supply lines, or the building’s occupancy permit hinges on the inspection, bring in a pro — or at minimum have your work inspected. Commercial food-service plumbing carries liability that a residential swap doesn’t.
FAQ
What size supply lines do commercial kitchen faucets use?
Most commercial kitchen faucets connect with 1/2-inch NPS or 3/8-inch compression supply lines feeding a 1/2-inch faucet inlet. Braided stainless flex lines are the standard because they resist the heat and vibration of a busy kitchen better than plastic. Always confirm the thread size on your existing stops before buying.
What’s the standard center spacing for a commercial faucet?
The industry standard is 8 inches (203 mm) center-to-center. This spacing is nearly universal across commercial brands, which is why pre-rinse units, add-on faucets, and swing spouts interchange so freely. Measure from the center of one mounting hole to the center of the other to confirm before ordering.
Do commercial kitchen faucets need a backflow preventer?
Usually, yes. Hose-connected and pre-rinse fixtures typically require an atmospheric vacuum breaker or a code-approved air gap to stop dirty water from siphoning back into the potable supply. Requirements vary by jurisdiction, so check your local plumbing code and health department rules before final connection.
Why is my new commercial faucet dripping right after install?
A fresh drip almost always traces to an under- or over-tightened connection, a pinched gasket, or thread tape that wasn’t wrapped in the tightening direction. Shut the water, back the joint off, re-tape clockwise, and re-snug. If it drips from the spout base, the O-ring likely wasn’t seated. A drip at the handle points to a cartridge that needs reseating.
How high should a commercial pre-rinse spout be above the sink?
Give yourself enough riser height to fit your tallest stockpot or sheet pan under the spray head — commonly the spring rises 30–44 inches above the deck. Make sure the swing spout and spray valve clear any overhead shelving and can reach every compartment of a 3-bay sink.
Author & credibility note
Written by the vigacc product team. vigacc (viga.cc) designs and manufactures faucets and bathroom fixtures for both residential and commercial use, and this guide reflects hands-on installation experience across restaurant, cafeteria, and janitor-sink settings. Our commercial faucets are built with lead-free brass, tested to NSF/ANSI 61 and 372 standards, cycle-tested cartridges, and backed by a manufacturer’s warranty. Always follow your local plumbing code and the model-specific instructions that ship with your faucet — when in doubt, have a licensed plumber verify code-critical connections.
WeChat
Scan the QR Code with WeChat