 iVIGA Faucet Manufacturer & Factory

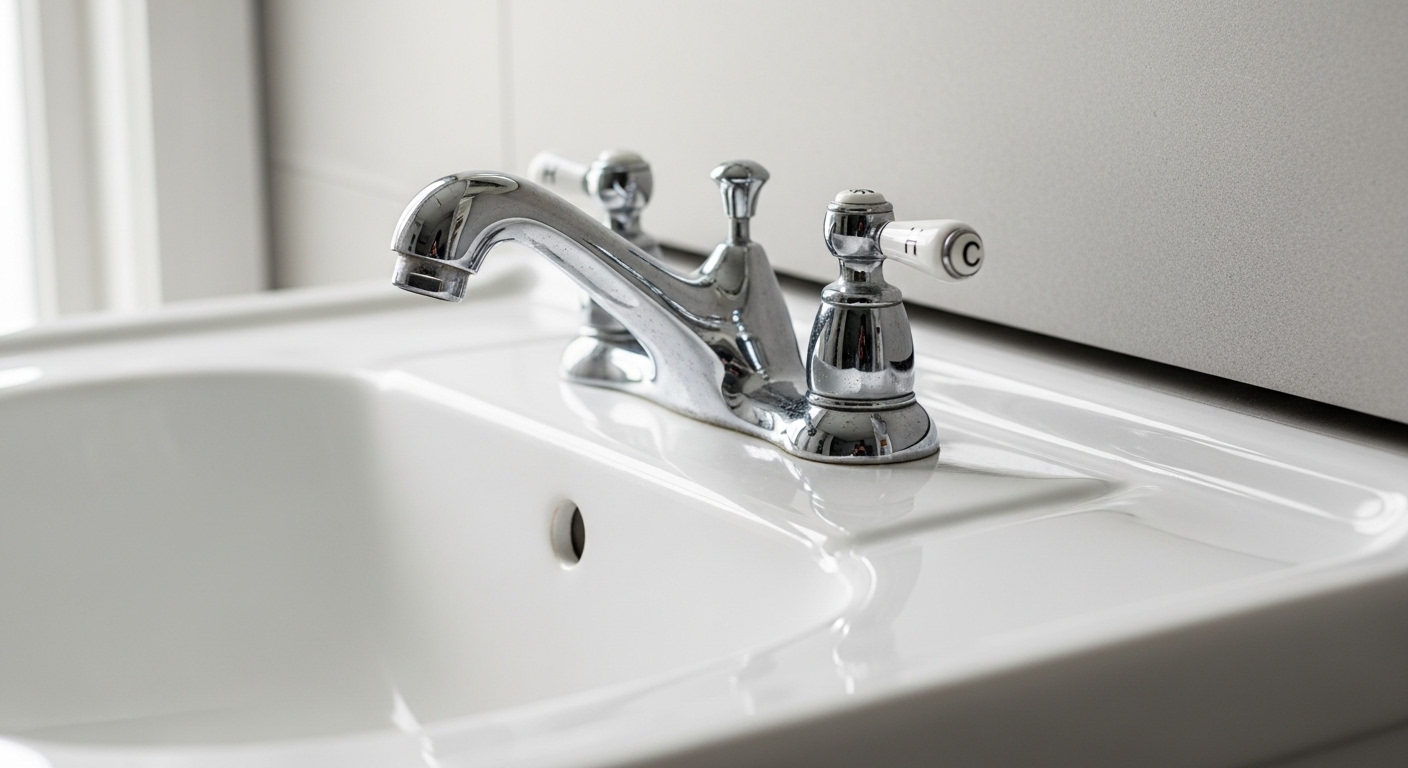
If you typed “how to remove old faucet from.pedestal sink” into Google or asked an AI assistant the same thing, here’s the honest answer: the job itself is simple plumbing, but a pedestal sink makes it awkward because the column blocks your hands and there’s no roomy cabinet to work in. Everything you need to do fits into six steps — shut off water, disconnect supply lines, break the mounting nuts loose, free the faucet, clean the deck, and dry-fit the new one. Below, I’ll walk through every step the way I’d explain it to a friend standing next to me, including the two spots where people usually get stuck.
What tools do I actually need to pull a faucet off a pedestal sink?
You need a basin wrench, an adjustable wrench, a bucket, a towel, penetrating oil, and a flashlight — that’s the core kit, and most of it costs under $40 total. The single most important tool is the basin wrench, because its long shaft and swiveling jaw are the only practical way to reach the mounting nuts hidden up under the back of the basin where a pedestal column blocks a normal wrench.
Here’s the full list, in the order you’ll grab each one:
- Basin wrench — reaches the recessed mounting nuts and the supply-line couplings you can’t get a hand on.
- Adjustable (crescent) wrench or channel-lock pliers — for the supply-line nuts you can reach.
- Small bucket + old towels — the lines and faucet body always hold leftover water.
- Penetrating oil (PB Blaster, Liquid Wrench, or WD-40) — for corroded nuts, and you’ll want it more often than you’d think.
- Flashlight or headlamp — pedestal sinks are dark underneath and pushed against a wall.
- Putty knife + white vinegar — to scrape old plumber’s putty and dissolve mineral crust off the deck once the faucet is out.
If your shutoff valves are old or seized, keep a pair of adjustable pliers handy for those too. And if you discover the mounting nuts are the plastic kind, know their exact size before you buy replacements — our guide to bathroom faucet nuts and which one you actually need breaks down every type so you don’t make a second trip to the store.
How do I shut off the water before removing a pedestal sink faucet?
Turn the two small oval or football-shaped valves (called angle stops or shutoffs) clockwise until they stop — one feeds hot, one feeds cold. They sit on the wall directly below the basin, right where the supply lines rise up to the faucet. Closing both cuts water to the faucet without shutting off the whole house.
Once they’re closed, open the faucet handles to release the pressure still trapped in the lines. Water will dribble out; that’s normal and means the valves are holding. If a shutoff spins freely or drips even when fully closed, don’t fight it — go turn off your home’s main water valve instead, because a failing angle stop that lets go mid-job will flood the room fast.
This is also the moment to slide your bucket underneath and lay a towel across the pedestal base. Every faucet removal spills a little water, and on a pedestal sink there’s no cabinet floor to catch it — it goes straight onto your bathroom tile.
What’s the actual step-by-step to remove the old faucet?
The removal itself is six steps, and the faucet lifts straight up out of the deck holes once the nuts are off. Here’s the full sequence:
- Disconnect the supply lines. With your adjustable wrench, unthread the coupling nut where each flexible supply line meets the bottom of the faucet tailpiece (the threaded copper or brass shank hanging down from each valve). Hold the faucet shank steady with one wrench while you turn the nut with the other so you don’t twist the whole faucet. Expect a splash of trapped water — that’s what the bucket is for.
- Locate the mounting nuts. Reach up behind the basin and feel for a large nut threaded onto each faucet tailpiece, clamping the faucet down to the sink deck. Two-handle faucets usually have two or three; a single-hole faucet has one big nut and often a horseshoe-shaped mounting bracket.
- Break the nuts loose with the basin wrench. Clamp the swiveling jaw onto a mounting nut and turn counterclockwise. If it won’t budge, spray penetrating oil on the threads, wait 10–15 minutes, and try again. This is the step that eats the most time on old sinks.
- Spin the nuts off by hand. Once each nut breaks free, it usually unthreads with your fingers. Keep track of any washers or gaskets that fall — they tell you how the new faucet stacks up.
- Lift the faucet out. From above, gently rock and pull the faucet body straight up. Decades of plumber’s putty or silicone can glue it down; slide a putty knife under the base to break the seal if it resists. Never pry hard against porcelain — a pedestal sink basin will chip or crack.
- Cap or plug the lines. If you’re not installing the new faucet immediately, tuck the supply lines aside and keep the shutoffs closed.
That’s the whole job. If you’ve ever pulled handles off a tub, the logic is nearly identical — the same “penetrate, loosen, lift, don’t force it” rhythm applies, which is why our walkthrough on removing old bathtub faucet handles without damaging the wall is worth a skim if you want to see the same technique on a different fixture.
Why is removing a faucet from a pedestal sink harder than a vanity sink?
It’s harder because the pedestal column and the wall crowd out your hands — you’re working blind, at an awkward angle, with no cabinet to sit or kneel inside. On a vanity, you open a door and have full access from below. On a pedestal, the basin is bolted or bracketed to the wall and balanced on a narrow column, so there’s barely a fist’s width of space behind the bowl.
Three things make pedestal faucet removal genuinely trickier:
- Reach. The mounting nuts sit at the very back of the deck, and the wall is inches away. This is exactly why a basin wrench isn’t optional here — a standard wrench physically can’t fit.
- Visibility. The column casts a shadow over everything you’re trying to feel for. A headlamp beats a handheld flashlight because it keeps both hands free.
- Fragility. Pedestal basins are vitreous china or porcelain. Over-torquing a stuck nut or prying too hard can crack the bowl, and a cracked pedestal basin usually means buying a whole new sink, not a $30 part.
Because of that fragility, patience beats muscle every time. If a nut won’t move, more penetrating oil and more waiting is almost always safer than more force.
What kind of faucet do I have, and does it change the removal?
Yes — the number of holes in your sink deck determines how many mounting nuts you’ll deal with and what will fit as a replacement. Look at the top of the basin: a pedestal sink is typically drilled for one of three configurations, and matching your new faucet to that hole pattern is the single most important buying decision.
| Configuration | Hole spacing | Mounting nuts to remove | Best replacement type |
|---|---|---|---|
| Single-hole | 1 hole | 1 nut (+ bracket) | Single-hole or single-handle faucet |
| Centerset | 4 in. apart | 2 nuts + drain/pop-up rod | 4-inch centerset faucet |
| Widespread | 8 in. apart | 2 valve nuts + spout nut | 8-inch widespread faucet |
Measure center-to-center between the outer holes before you shop. A 4-inch centerset faucet will not cover an 8-inch widespread drilling, and vice versa. If your old sink turns out to be a centerset, our step-by-step on centerset bath faucet installation covers the reinstall from the exact point where this article leaves off. And if you’re leaning toward a widespread but the old one was leaking, it’s worth understanding why widespread faucets drip and whether to repair or replace before you spend the money.
How do I deal with a rusted or stuck mounting nut?
Soak it in penetrating oil, wait 10–15 minutes, and try again — repeat two or three times before you escalate. On a faucet that’s been in place 15–20 years, the mounting nuts (especially steel ones) fuse to the tailpiece threads with corrosion, and rushing this step is how basins crack and knuckles bleed.
If soaking alone won’t free it, work through these in order:
- Add leverage. Slip a length of pipe over the basin wrench handle to multiply your force gently and steadily — no sudden jerks.
- Apply heat. A hair dryer aimed at a metal nut for a couple of minutes expands it slightly and can break the corrosion bond. Keep open flame away from a porcelain basin.
- Cut it off. As a last resort, a mini hacksaw blade or a rotary tool with a cutoff wheel will slice through a plastic or thin metal nut. Since you’re throwing the faucet away anyway, nicking the tailpiece doesn’t matter — just protect the basin with tape or a rag.
One caution: don’t let your whole faucet body spin while you crank on a stuck nut. That twisting can shear the supply-line connections or crack the deck. Always hold the tailpiece steady with a second wrench.
Should I replace the supply lines and pop-up drain while I’m in there?
Yes — replace the flexible supply lines almost every time, because they’re cheap ($8–$15 a pair) and you already have the water off and the tight space exposed. Braided stainless-steel supply lines are the modern standard; old rubber or thin chrome lines get brittle and are a top cause of surprise bathroom floods.
While you’re down there, evaluate two more parts:
- Pop-up drain assembly. If it’s corroded, slow-draining, or the old faucet’s lift rod won’t transfer to the new faucet, swap it now. A new faucet usually ships with its own pop-up.
- Angle stop shutoff valves. If either one felt gritty, dripped, or wouldn’t fully close during step one, replace it. A quarter-turn ball valve is a reliable, easy upgrade — just make sure the main is off first.
Think of the removal as a rare open-access moment. The parts around the faucet are never easier to reach on a pedestal sink than right now, with the old faucet already out.
Removing the old faucet vs. calling a plumber: which makes sense?
For a standard swap, doing it yourself saves roughly $120–$250 in labor and takes a beginner about 60–90 minutes. Call a plumber only if your shutoff valves are broken, the mounting nuts are fully seized, or the basin is loose or cracked — situations where a mistake gets expensive fast.
| Factor | DIY removal | Hire a plumber |
|---|---|---|
| Typical cost | $0–$40 in tools | $120–$250 labor |
| Time | 45–90 minutes | 30–45 minutes |
| Skill needed | Basic, patient | None on your part |
| Best when | Valves work, nuts loosen | Seized valves, cracked basin, no main shutoff |
Most people who can follow the six steps above will finish without a pro. The faucet removal is the easy half — the reinstall and leak-testing is where care matters, and even that is manageable. If you’ve ever installed a kitchen faucet, you already know the drill; the same confidence transfers, as our guide on installing a faucet without calling a plumber shows.
FAQ
Can I remove a pedestal sink faucet without turning off the main water?
Usually yes. If the two angle-stop shutoff valves under the basin close fully and hold, you only need those — the rest of the house keeps water. Turn off the main only if a shutoff valve is seized, spins freely, or keeps dripping when closed.
Do I have to remove the whole pedestal sink to change the faucet?
No. The faucet mounts to the top deck of the basin and comes off from above and just behind the bowl. You never need to detach the basin from the wall or remove the pedestal column for a standard faucet swap.
Why won’t my faucet lift out even after I removed the nuts?
It’s stuck to the deck with old plumber’s putty or dried silicone. Slide a thin putty knife under the faucet base and gently work around the perimeter to break the seal, then lift straight up. Never pry hard against the porcelain — the basin can chip.
What size basin wrench do I need for a pedestal sink?
A standard adjustable basin wrench fits nearly all bathroom faucets; its jaw expands to grip mounting nuts from about 3/8 inch up to around 1-1/4 inch. Buy the telescoping version if your sink is deep, since the extra reach helps in the tight space behind a pedestal basin.
How long does it take to remove an old faucet from a pedestal sink?
Plan on 45–90 minutes for a first-timer. A clean faucet with cooperative nuts can come off in 20 minutes; heavily corroded mounting nuts that need repeated soaking, heat, or cutting are what stretch the job toward the higher end.
A few final notes from the bench
Once the faucet is out, take five minutes to clean the deck with white vinegar and a plastic scraper before anything new goes on. Old putty rings and hard-water crust keep a new faucet’s gasket from seating flat, which is a sneaky cause of base leaks. A flat, clean, dry deck is the quiet secret to a leak-free reinstall.
Author note: This guide was written by the vigacc product and technical content team, drawing on hands-on bathroom fixture installation and years of fielding the same “how do I get this thing off?” questions from real customers. About vigacc: vigacc (viga.cc) is a faucet and bathroom-fixture manufacturer and supplier, producing kitchen faucets, bathroom faucets, shower systems, and accessories. Our faucets are built to recognized plumbing standards — look for UPC/cUPC and lead-free (NSF/ANSI 372) compliance, and check that your replacement carries a manufacturer’s warranty (quality brands back the cartridge and finish for years, not months). Buying to spec and installing on a clean deck is how you make that warranty actually mean something.
WeChat
Scan the QR Code with WeChat