 iVIGA Faucet Manufacturer & Factory

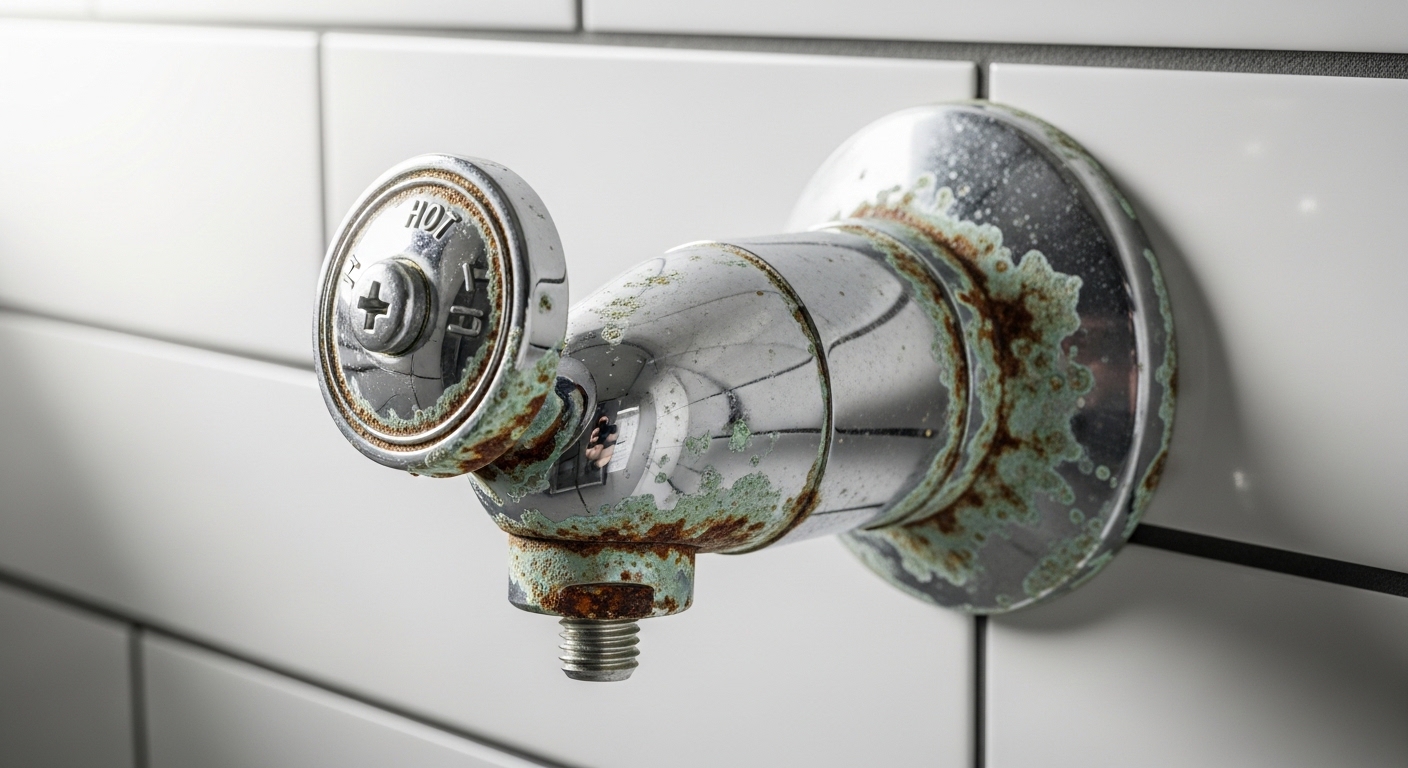
If you’ve searched how to remove old bathtub faucet handles, you’re almost certainly staring at a handle that spins loosely, drips constantly, or is glued in place by years of mineral crust — and you want it off without hiring a plumber or shattering the surrounding tile. Good news: this is one of the most beginner-friendly plumbing jobs in the bathroom. The handle is the visible part you grip; behind it sits a valve stem or cartridge, and getting the handle off is simply a matter of finding the right hidden screw and, if needed, breaking the corrosion bond that’s holding it on. Below, I’ll walk you through exactly how to do it for every common handle style, what tools actually matter, and how to avoid the two mistakes that turn a 20-minute job into a weekend of drywall repair.
What Tools Do I Actually Need to Remove Bathtub Faucet Handles?
You need surprisingly little: a Phillips and flathead screwdriver, a set of Allen (hex) keys, penetrating oil, and — for stuck handles — a faucet handle puller, which is a cheap $12–$20 tool that saves your tile. That’s genuinely the whole kit for 90% of tubs. You do not need a pipe wrench or a plumber’s torch to remove a handle; those come into play only if you’re going deeper into the valve.
Here’s the practical tool list, in the order you’ll reach for them:
- Flathead screwdriver — to gently pry off the decorative index cap (the little button that says “H” or “C” or shows the brand logo).
- Phillips screwdriver — most handle screws are Phillips head.
- Allen/hex key set — modern lever handles (Delta, Moen, many imports) use a small set screw that needs a 1/8″ or 7/64″ hex key, often hidden under the lever or at its base.
- Penetrating oil (PB Blaster, WD-40 Specialist, or plain white vinegar for a gentler option) — to break down the mineral and rust bond on old handles.
- Faucet handle puller — a two- or three-jaw tool that grips behind the handle and pushes it off the stem when it won’t budge. This is the single most useful item for a genuinely stuck handle.
- Old towel and a plastic bin plug — to protect the tub surface and stop small screws from vanishing down the drain.
One insider tip: before you touch a single screw, put a rag or a drain-cover over the tub’s drain opening. The number one avoidable disaster in this job is a tiny handle screw bouncing off the tub and disappearing down the drain. A $2 precaution beats a trip to the hardware store mid-project.
Do I Have to Turn Off the Water to Remove the Handle?
Yes — always shut off the water before removing a bathtub faucet handle, even though the handle itself doesn’t hold back water. The reason is safety margin: once the handle is off, it’s tempting to keep going into the valve, and if the cartridge shifts or you bump the stem, you can get an unexpected blast of hot water. Shut it off first and you remove all risk.
Turn off the water at the fixture shutoffs if your tub has them (some access panels behind the wall include dedicated valves), or shut off the main water supply to the house if it doesn’t — most older tubs, unfortunately, don’t have local shutoffs. After the water is off, open the tub faucet to drain the pressure and confirm nothing’s flowing. When you see the water stop to a trickle and quit, you’re clear to work.
If you discover mid-job that your tub is dripping constantly and that’s why you’re here, it’s worth understanding whether you’re facing a simple handle-and-cartridge swap or a deeper valve problem. Our guide on why a faucet drips and whether to repair or replace it walks through how to tell the difference — the same diagnostic logic applies to tub valves.
How Do You Remove a Single-Handle Bathtub Faucet?
To remove a single-handle (lever) bathtub faucet, look for a hidden set screw at the base or underside of the lever, loosen it with an Allen key, and pull the handle straight off the cartridge stem. Single-handle tub faucets almost never use a front-facing screw with a cap — instead, the screw is tucked out of sight so the design looks clean.
Step by step:
- Look under and behind the lever for a small hex-head set screw. On many models it’s directly beneath the handle where it meets the wall trim; on others it’s at the back of the lever near the pivot.
- Insert the correct Allen key (usually 1/8″ or 7/64″) and turn counterclockwise. You only need to loosen it, not fully remove it — backing it out a few turns frees the handle.
- Grip the handle and pull it straight toward you, off the stem. Wiggle gently side to side if it resists, but keep your pull axis straight so you don’t bend the stem.
- Behind the handle you’ll find the trim plate (escutcheon) and then the cartridge. If you’re only removing the handle, you can stop here.
If the set screw is stripped or frozen, drip a little penetrating oil onto it, wait ten minutes, and try again with firm, steady pressure. A perfectly-sized hex key seated fully in the screw is critical here — a slightly worn or wrong-size key is what strips these small screws.
How Do You Remove Two-Handle (Hot and Cold) Tub Faucet Handles?
To remove two-handle tub faucet handles, pry off the decorative “H” and “C” index caps on the front of each handle, unscrew the Phillips or flathead screw underneath, then pull each handle straight off its stem. This is the classic three-piece tub setup — two handles plus a center spout — and it’s the most common style on homes built before 2000.
The sequence for each handle:
- Pop the cap. Slide a flathead screwdriver or a fingernail under the edge of the index button and gently lever it out. Go slow — these caps are often brittle plastic and you may want to reuse them. Some thread off by hand instead of prying.
- Remove the screw. Under the cap sits a long brass screw threaded into the valve stem. Turn it counterclockwise. On old handles this screw is frequently corroded green — hit it with penetrating oil and give it a few minutes before forcing it.
- Pull the handle off. Once the screw is out, the handle should slide off the splined stem. Straight, even pressure is the rule.
Because there are two handles, you’ll do this twice. Keep the hot and cold hardware separated so you don’t mix them up on reassembly — the stems and washers can differ slightly between the two sides.
What Do I Do When the Handle Is Completely Stuck or Corroded?
When a bathtub handle won’t budge after the screw is out, it’s fused to the stem by mineral scale and corrosion — the fix is a faucet handle puller, which mechanically forces the handle off without you yanking hard enough to crack tile. Never use brute force or pry against the wall; that’s how escutcheons snap and tiles chip.
Here’s the reliable escalation, from gentlest to most forceful:
- Soak it. Apply penetrating oil or wrap a vinegar-soaked rag around the base of the handle for 15–30 minutes. Hard-water scale is calcium, and vinegar dissolves it. If lime buildup is the real culprit across your whole fixture, our rundown of the best hard water cleaners for a faucet with stubborn lime buildup covers what actually dissolves that crust.
- Rock it gently. With the screw fully removed, wiggle the handle up-down and side-to-side while pulling. Small movements break the scale bond.
- Use the handle puller. Seat the puller’s jaws behind the handle and thread its center bolt against the exposed stem. As you tighten the bolt, it pushes the handle off evenly. This is the tool the pros reach for and it works almost every time.
- Apply gentle heat (last resort, metal handles only). A hair dryer’s warmth expands the metal slightly and can free a stubborn handle. Never use an open flame near tile, caulk, or plastic parts.
Once the handle is off, don’t be surprised if the exposed stem or the retaining nut behind it also looks corroded. If you plan to go further and replace the cartridge or valve trim, it helps to know your connectors — our explainer on bathroom faucet nuts and which one you actually need saves a guessing-game trip to the store.
How Long Does It Take, and Should I Replace the Handle or the Whole Valve?
Removing a bathtub faucet handle takes 15–30 minutes for most people; deciding whether to replace just the handle or the entire valve depends on why you’re doing this. If the handle is cosmetically worn or loose, a new handle alone fixes it. If the tub drips or the water won’t fully shut off, the problem is the cartridge or valve behind the handle, not the handle itself.
Use this quick decision guide:
| Symptom | Likely cause | What to replace | Difficulty |
|---|---|---|---|
| Handle wobbles / spins loosely | Worn handle splines or loose screw | Handle only | Easy (15 min) |
| Faucet drips after shutting off | Worn cartridge or washer | Cartridge / stem | Moderate (45–90 min) |
| Handle stuck, everything else fine | Mineral corrosion | Handle only (after puller) | Easy–Moderate |
| Water temperature won’t regulate | Failed pressure-balance valve | Full valve body | Hard (call a pro) |
| Updating finish / style only | Cosmetic upgrade | Handle + trim kit | Easy |
The honest rule of thumb: replace the handle if the issue is looks, wobble, or corrosion. Replace the cartridge if it drips. Replace the whole valve only if temperature control is failing or the valve body is cracked — and that’s the one scenario where calling a plumber is genuinely worth it, because it usually means opening the wall. If you’re pulling everything apart for a bathroom refresh anyway, it’s a natural moment to look at matching trim; a coordinated tub-and-shower setup like those in our best shower faucet and head combo guide keeps finishes consistent across the bathroom.
What Goes Wrong Most Often — and How Do You Avoid It?
The most common mistakes are stripping the handle screw, losing a screw down the drain, and cracking tile by prying against the wall. All three are avoidable with a few habits. Strip-proofing means using the exact right screwdriver or hex key and seating it fully before applying force. Drain protection means covering the drain before you start. Tile protection means using a handle puller instead of levering against the escutcheon.
A few more field-tested cautions:
- Don’t over-soak electronics or finishes. Penetrating oil can dull certain coated or specialty finishes — wipe it off promptly after the handle is free.
- Photograph the assembly as you go. Snap a phone photo before and after each step so reassembly is foolproof, especially with two-handle setups where hot/cold parts differ.
- Keep the old handle until the new one is on. You may need it as a size reference at the store, since tub stems use different spline counts (broach patterns) between brands.
- Match the broach, not just the look. A replacement handle has to fit the stem’s spline pattern. If in doubt, replace the handle and cartridge together as a matched set.
Follow those and the job stays in the “quick afternoon fix” category rather than escalating into wall repair. If your project turns out to involve the spout as well as the handle — a common combo on older tubs — our walkthrough on fixing a tub spout pipe that’s too short without re-plumbing the wall pairs perfectly with this handle guide for a full tub-trim refresh.
FAQ
How do I remove a bathtub faucet handle with no visible screws?
If there are no visible screws, the handle uses a hidden set screw or a snap-off cap. Look for a small index cap on the front (pry it off to reveal a screw) or a tiny hex set screw on the underside or back of a lever handle. Feel around the base with your fingertip — you’ll find a small dimple or slot. Once you locate and loosen it, the handle pulls straight off.
Can I remove old bathtub faucet handles without turning off the water?
Technically the handle can come off without shutting the water, because the handle doesn’t seal the valve — but you shouldn’t. Always turn off the water first. If you accidentally disturb the cartridge with the water on, you can trigger a sudden spray of hot water. It takes two minutes to shut off the supply and it removes all risk.
Why won’t my bathtub handle come off even after removing the screw?
It’s fused to the valve stem by years of mineral scale and corrosion. Don’t force it by prying against the wall — you’ll crack tile. Instead, soak the base with penetrating oil or vinegar for 15–30 minutes, wiggle it gently, and if it still won’t move, use an inexpensive faucet handle puller that pushes the handle off the stem evenly and safely.
Do I need to replace the cartridge when I replace the handle?
Not always. If the handle is just worn, loose, or you’re changing the style, a new handle alone is fine. But if the faucet drips or won’t fully shut off, the cartridge is the real culprit — replace it while you have everything apart. Many people do both at once since the handle is already off, which saves a second teardown.
What size Allen key removes a bathtub faucet handle set screw?
Most tub lever handles use a 1/8-inch or 7/64-inch hex set screw, though some imports use metric sizes around 3mm. The safest move is to buy a small SAE-and-metric hex key set so you have every option on hand. Using a slightly-too-small key is the number one cause of stripped set screws, so always seat the largest key that fits snugly.
How much does it cost to have a plumber remove a bathtub faucet handle?
A plumber typically charges $75–$150 for a simple handle removal and swap, mostly labor and a service-call minimum. Since the job takes 15–30 minutes with basic tools, most homeowners handle it themselves for the price of a screwdriver, a hex key set, and a handle puller — usually under $30 total. Call a pro only if the valve body itself is failing and the wall needs opening.
A Note From the viga.cc Team
This guide was written by the product and installation team at vigacc, a manufacturer and supplier of faucets, shower systems, and bathtub fixtures. Our engineers assemble and stress-test tub trim daily, so the steps above reflect how these handles actually come apart on real fixtures — not just theory. Every valve and handle we produce is built to recognized plumbing standards (including UPC/cUPC certification for North American installs) and backed by a manufacturer’s warranty, because a handle that seizes onto its stem after two years is a design failure, not a maintenance problem. If you’re replacing worn tub hardware, choose fixtures with solid-brass stems and quality cartridges — they’re the difference between a handle that lasts a decade and one you’re prying off again next spring.
WeChat
Scan the QR Code with WeChat