 iVIGA Faucet Manufacturer & Factory

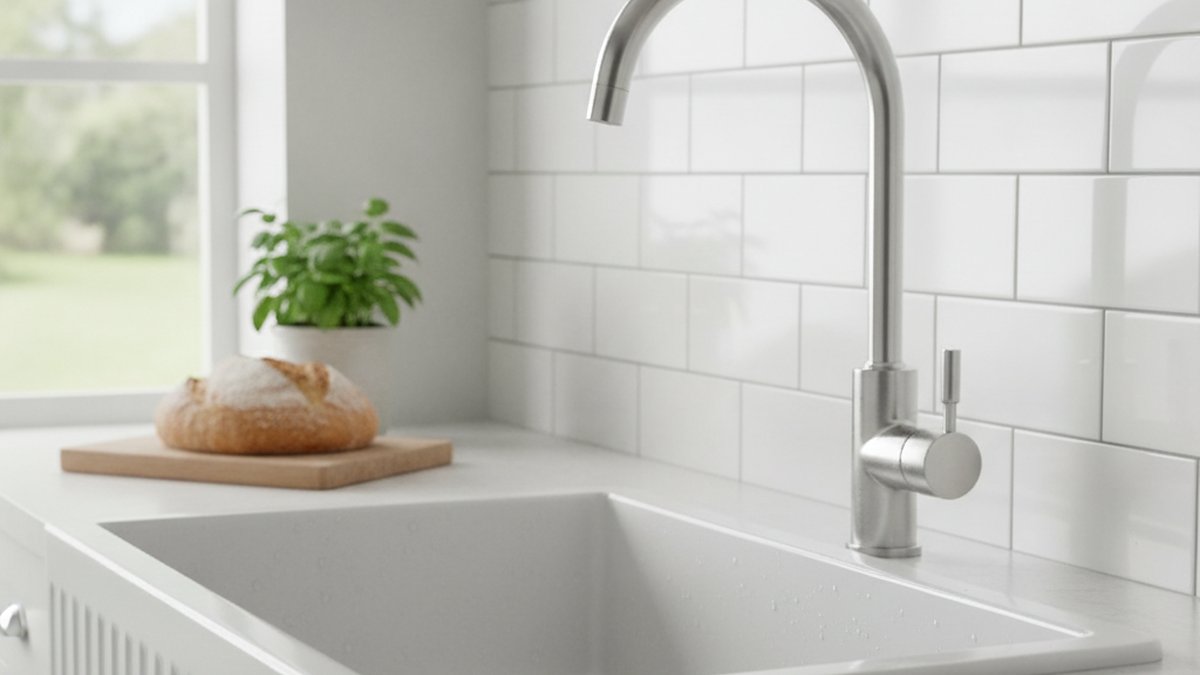
Learning how to replace a wall mounted kitchen tap is one of the most satisfying DIY upgrades you can do at the sink, because unlike a deck-mounted faucet, everything you need to touch is out in the open on the wall — no crawling into a dark cabinet, no lying on your back under the basin. A wall-mounted kitchen tap threads onto two pipe outlets that stick out of the wall (usually 150 mm apart, center to center), so the whole swap is really just “unscrew the old one, prep the threads, screw on the new one.” The catch is in the details: shutting off water correctly, getting the two connections perfectly aligned, and sealing them so you never see a drip. This guide walks through all of it in plain language.
At iVIGA, we manufacture and pressure-test wall-mounted mixers every day, so the steps below reflect how these taps are actually built and installed — not generic advice.
What tools and parts do I need to swap a wall mounted kitchen tap?
You need surprisingly little: an adjustable wrench (or two), PTFE thread-seal tape, a soft cloth, and the new tap itself. Because a wall tap threads directly onto the wall inlets, you don’t need basin wrenches or supply-line kits like you would under a sink.
Here’s the full checklist before you start:
- Adjustable wrench (250 mm / 10″). A second smaller wrench helps you hold one nut steady while you turn another.
- PTFE tape (plumber’s / thread-seal tape). This is what actually stops leaks on threaded connections. Buy the thicker “gas” grade if you can — it seals more reliably.
- Soft cloth and an old toothbrush. For wiping and cleaning limescale off the wall inlets and S-union threads.
- The new wall-mounted tap with its eccentric S-connectors (the two angled union pieces that let you fine-tune spacing).
- Optional: a bucket and towel to catch the small amount of water left in the pipes.
One thing worth checking before you buy: the center distance between your wall inlets. Almost every wall-mounted kitchen mixer is built for 150 mm centers, but the S-union connectors give you roughly ±10–15 mm of adjustment, which covers most real-world walls where the pipes aren’t perfectly spaced. If you’re unsure how to size threaded connections in general, our guide on bathtub faucet thread size and how to measure it explains the same G1/2″ thread standard used on kitchen wall taps.
How do I turn off the water before removing a wall tap?
Shut off the two isolation valves feeding the tap if you have them; if you don’t, turn off your home’s main water stopcock. Then open the old tap to release trapped pressure and drain the last bit of water before you unscrew anything.
Wall-mounted taps are fed by hot and cold pipes buried in the wall, and those pipes may or may not have dedicated isolation (service) valves. Here’s how to handle both situations:
- If you have isolation valves — often behind an access panel or in the cabinet on the adjoining wall — turn both to the closed position (slot turned across the pipe, or handle turned 90°). This lets you keep water running elsewhere in the house.
- If you don’t, close the main stopcock (usually under the kitchen sink, in a utility area, or where the supply enters the house).
Once the supply is off, open the tap handle(s) fully. Water will trickle out and stop — that confirms the supply is genuinely off and relieves any residual pressure. Keep a towel over the wall inlets, because a small cupful of water always sits in the pipe bends and will spill when you loosen the connectors. This is the single most important step: never wrench off a live tap.
How do you actually replace a wall mounted kitchen tap, step by step?
You remove the old tap by unscrewing its two union nuts from the wall connectors, then you re-seal and re-fit the S-connectors, and finally screw the new tap onto them level. Below is the full sequence most people can complete in under 90 minutes.
- Loosen the union nuts. A wall tap connects with two large “cap” nuts that thread onto the eccentric S-connectors. Hold the S-connector body steady with one wrench and turn the cap nut counter-clockwise with the other. Support the tap’s weight with your free hand as it comes loose.
- Lift the old tap away. Once both nuts are off, the tap simply comes off the wall. Set it aside.
- Decide: reuse or replace the S-connectors. The eccentric S-unions screw into the wall inlets themselves. If the new tap came with its own connectors (most iVIGA taps do), remove the old ones by unscrewing them from the wall. If they’re in great shape and match, you can reuse them — but new tape is mandatory either way.
- Clean the wall inlet threads. Wipe away old PTFE tape, limescale, and grit with the cloth and toothbrush. Clean threads are what make a leak-free seal possible.
- Wrap PTFE tape on the connector threads. Wrap 5–8 turns clockwise (the direction the connector will screw in) around the male thread that goes into the wall. Pull it snug so it beds into the grooves.
- Screw in the S-connectors and set them level. Thread them into the wall inlets by hand, then snug with a wrench. Here’s the trick: because they’re eccentric, rotating each connector shifts its outlet up/down and in/out. Adjust both until the two outlets are exactly 150 mm apart (or match your tap) and perfectly level — hold a small spirit level or ruler across them.
- Check the decorative escutcheon caps. Slide the cover flanges over the connectors so they’ll hide the wall holes.
- Fit the new tap. Line up the tap’s two inlets with the connector outlets, seat the rubber/fiber washers inside the cap nuts, and hand-tighten both nuts. Then give each a gentle quarter-to-half turn with the wrench — snug, not gorilla-tight. Overtightening crushes the washer and causes leaks, not prevents them.
- Level and lock. The tap should hang perfectly horizontal. If it’s tilted, you didn’t get the eccentric connectors aligned — back off and re-adjust rather than forcing it.
That’s the whole job. If your old tap left you with a wobble or a persistently loose connection, it’s often a worn washer or a connector that was never tightened correctly — our piece on the right kitchen faucet tightening tool for a wobbly faucet covers the exact fixes.
How do I test for leaks and know it’s done right?
Turn the water back on slowly, then watch every connection for 60 seconds and run the tap through hot, cold, and mixed positions. If you see even a bead of water at a nut, tighten it a quarter turn; if that doesn’t stop it, re-tape.
Do the reveal carefully. Open the isolation valves or main stop gradually — a sudden surge can push a poorly seated washer. With the tap handle closed, inspect the two cap nuts and the two points where the S-connectors enter the wall. Then:
- Open the tap fully on cold and check for drips at the joints and under the spout base.
- Switch to hot — heat can reveal seals that cold water didn’t stress.
- Run mixed/warm and let it flow for a minute while you dry each joint with tissue and watch for re-wetting.
A dry tissue that stays dry after two minutes means you’re done. If a joint at the wall keeps weeping, the fix is almost always more PTFE tape (you had too few wraps), not more torque. If a cap nut weeps, check that the washer is seated flat and not pinched.
Wall-mounted vs. deck-mounted kitchen tap: which should you choose?
Choose a wall-mounted tap if you want an easy-to-clean countertop and a striking look; choose deck-mounted if your plumbing already comes up through the counter and you want the simplest possible install. Here’s how they compare for a replacement job:
| Factor | Wall-Mounted Kitchen Tap | Deck-Mounted Kitchen Tap |
|---|---|---|
| Water supply location | Pipes exit the wall behind the sink | Pipes come up through counter/sink deck |
| Install access | Open, at eye level — easy | Cramped, inside the cabinet |
| Typical DIY time | 45–90 minutes | 60–120 minutes |
| Countertop cleaning | Excellent — nothing around the base | Grime collects around the base |
| Standard spacing | 150 mm centers (adjustable) | Single hole or 3-hole (8″ spread) |
| Best for | Existing wall plumbing, modern look | Existing counter plumbing |
The golden rule: replace like with like. If your water currently comes out of the wall, buy a wall-mounted tap — you cannot easily convert to deck-mounted without moving pipes, which is a job for a plumber. If you’re browsing for a replacement style while you’re at it, our overview of the best kitchen tap designs for your sink helps you match spout height and reach to your basin.
What can go wrong, and how do I avoid the common mistakes?
The three most common wall-tap replacement mistakes are overtightening the cap nuts, using too little PTFE tape, and failing to level the eccentric connectors. All three are avoidable in under a minute of extra care.
- Overtightening. Brass and washers seal with light, even pressure. Hand-tight plus a quarter turn is the target. If you crank it, you’ll deform the washer and create the very leak you were trying to prevent.
- Skimping on thread tape. Fewer than five wraps rarely seals reliably. Wrap in the direction of the screw so it tightens rather than unravels.
- Ignoring level. A tilted tap isn’t just ugly — it means the eccentric connectors are fighting the tap body, stressing the seals. Fix the alignment, don’t muscle through it.
- Reusing old, hardened washers. Always fit the fresh washers that come with the new tap.
- Cross-threading. Start every nut by hand and back off at the first sign of resistance. Forcing a cross-threaded nut ruins the connector.
If, after installation, your new tap runs weak, the culprit is usually a clogged aerator or debris knocked loose during the swap rather than the install itself — the diagnosis in our guide to kitchen faucet low water pressure and Reddit’s fix walks through clearing it in minutes. And if you ever get a slow drip weeks later, catching it early is worth it — see how to fix a kitchen faucet drip before it wastes another gallon.
Do I need a plumber, or is this genuinely a DIY job?
For a straight like-for-like swap where your wall inlets are in good condition and have isolation valves, this is a confident-beginner DIY job. Call a plumber only if the pipes are corroded, the inlets are damaged, there are no shut-off valves and you can’t find the main stop, or you need to move the pipe positions.
The honest test is your comfort with a wrench and PTFE tape. Wall-mounted taps are, if anything, easier than deck-mounted ones because you’re working at eye level with both hands free. The situations that genuinely warrant a pro are structural: seized connectors that won’t budge without risking snapping the pipe, threads inside the wall that are stripped, or a plan to relocate the water outlets. When in doubt, get a quote — but for most people replacing a tired old mixer, the toolkit and 90 minutes above are all it takes.
Author note: This guide was written by the iVIGA product and installation team, drawing on hands-on experience assembling and bench-testing wall-mounted kitchen mixers. Every iVIGA wall-mounted tap is built from lead-safe brass, pressure-tested before it leaves the factory, and manufactured to internationally recognized standards (including cUPC and NSF/ANSI 61 for potable-water safety), and is backed by our multi-year limited warranty on the cartridge and finish. We build these fixtures, so the steps here reflect how they’re actually engineered to install and seal.
FAQ
How long does it take to replace a wall mounted kitchen tap?
For a like-for-like replacement with working isolation valves, budget 45–90 minutes. First-timers should lean toward the longer end to take their time cleaning the threads and getting the eccentric connectors perfectly level, which is the step that determines whether it leaks.
What is the standard spacing for a wall mounted kitchen tap?
The near-universal standard is 150 mm between the two inlet centers. The eccentric S-union connectors that come with the tap give you roughly ±10–15 mm of adjustment, so minor discrepancies in how your wall pipes were installed are easy to correct without moving any plumbing.
Do I need PTFE tape or thread sealant to fit a wall tap?
Yes — PTFE (plumber’s) tape is essential on the male threads that screw into the wall inlets. Wrap 5–8 turns clockwise. The rubber or fiber washers inside the cap nuts seal those connections, so you don’t tape the nut side; you rely on the washer there.
Can I replace a wall tap without turning off the whole house water?
Yes, if your tap has dedicated isolation (service) valves on its hot and cold feeds — close those two and the rest of the house keeps running. If there are no isolation valves, you’ll need to shut the main stopcock for the duration of the swap.
Why does my new wall mounted tap still drip after installation?
A drip at the wall joints usually means too few wraps of PTFE tape — re-tape with more turns. A drip at the cap nuts usually means the washer is pinched, missing, or the nut is overtightened; back it off, seat the washer flat, and re-snug to hand-tight plus a quarter turn. A drip from the spout itself points to the cartridge, not the install.
Can I switch from a deck-mounted to a wall-mounted kitchen tap?
Not easily. The water supply has to physically come out of the wall for a wall-mounted tap to work. Converting from deck-mounted (pipes through the counter) to wall-mounted means relocating pipework inside the wall, which is a plumber’s job — so for a DIY swap, always replace like with like.
WeChat
Scan the QR Code with WeChat