 iVIGA Faucet Manufacturer & Factory

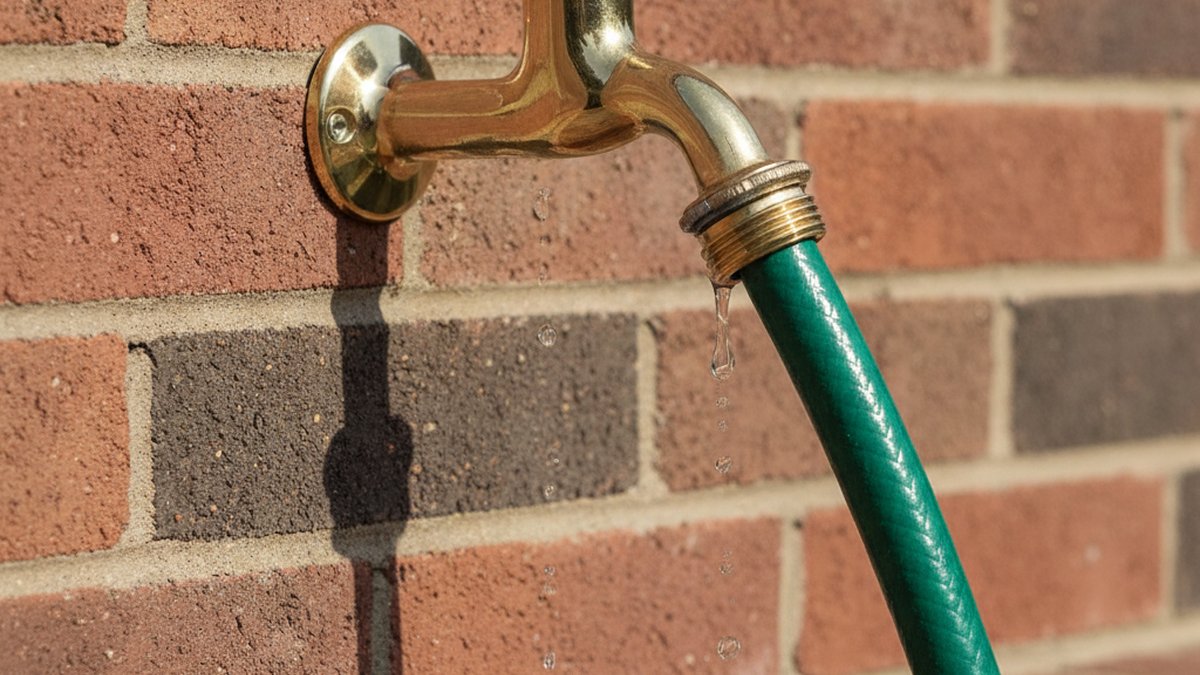
If your garden hose tap not working just ruined your Saturday watering plan, take a breath — the outdoor spigot (also called a hose bib, sillcock, or outside tap) is one of the simplest valves in your whole house, and that simplicity is good news. There are only a handful of parts that can fail, and you can diagnose almost all of them from the outside with a wrench and five minutes. Below, I’ll walk you through exactly what’s going wrong, in the order you should check it, so you don’t tear apart a working valve chasing a problem that’s actually in the hose.
I’ve spent years around faucet and valve manufacturing, and the single most common “broken tap” service call is a tap that was never broken — it was a kinked hose, a clogged nozzle, or a shutoff someone bumped closed last winter. So we’ll rule those out first, then get into the real repairs.
Why is no water coming out of my outdoor tap at all?
If you turn the handle and get nothing — not even a dribble — the cause is upstream of the valve seat 80% of the time: either the interior shutoff feeding that line is closed, or the pipe froze and cracked over winter. Start there before you touch a single screw.
Here’s the fast diagnostic path, in order of likelihood and effort:
- Check the indoor shutoff valve. Most outdoor taps have a dedicated shutoff inside — in a basement, crawlspace, or utility closet, usually within a few feet of where the pipe exits the wall. Many people close it in fall and forget. Turn it fully counterclockwise (open).
- Look for a frost-free bleed or a burst pipe. If you hear water running inside the wall when the tap is open but nothing comes out the spout, you likely have a split pipe from freezing. That’s a call-a-pro moment, not a washer swap.
- Fully open the handle. Sounds obvious, but stiff, half-turned handles are common. Open it all the way — a frost-free sillcock only flows when the stem is backed almost fully out.
- Remove the hose and test bare. Disconnect everything and open the tap. If water gushes out with no hose attached, your tap is fine and the problem is downstream (hose, nozzle, or splitter).
That last step is the great separator. A huge share of “my garden hose tap not working” complaints are actually a collapsed hose liner, a clogged spray nozzle, or a cheap Y-splitter with a stuck internal valve. Test the tap naked before you blame it.
My tap turns but only a trickle comes out — what’s clogging it?
Weak flow from an outdoor tap that still turns freely is almost always mineral scale or debris on the valve seat, or a swollen/torn washer partially blocking the opening. In hard-water regions, calcium and lime build up right at the seat where water sits.
The mechanics: inside a traditional compression hose bib, a rubber washer on the end of a threaded stem presses down onto a brass seat to stop water. Over years, that washer hardens, cracks, or partially disintegrates, and bits of it — plus mineral flakes — restrict the opening even when the handle is wide open. This is the same scaling problem that plagues indoor aerators; if you’ve ever wondered why buildup clogs fixtures even in decent water, our piece on why a faucet aerator still clogs even with soft water explains the chemistry that applies here too.
To fix a trickle:
- Shut off the water supply to the tap.
- Open the handle to release pressure.
- Unscrew the packing nut (the large hex nut behind the handle) and back the whole stem assembly out.
- Inspect the washer at the bottom of the stem — if it’s flattened, cracked, or gummy, replace it (a $3 washer assortment covers every size).
- Shine a light into the valve body and scrape off scale at the seat with a small pick, or dissolve it with white vinegar on a cotton swab.
Reassemble, and flow usually returns to full. If the brass seat itself is pitted and rough, you can reface it with a $10 seat-dressing tool or, better on modern taps, swap to a replaceable seat.
Why does my garden hose tap leak around the handle when I turn it on?
A tap that leaks from around the handle or stem — not the spout — has a worn packing washer or O-ring under the packing nut, not a bad seat washer. It’ll still deliver water; it just weeps up top under pressure.
This is a five-minute fix and the cheapest repair on the list. With the water off and pressure released, tighten the packing nut a quarter-turn first — sometimes that’s all it needs. If it still weeps, remove the nut and replace the packing washer or O-ring, or wrap the stem threads with a few turns of graphite packing string. Reassemble snug but not gorilla-tight; overtightening makes the handle hard to turn and crushes the new packing.
If your handle itself is cracked, stripped, or spinning without engaging, that’s a separate part. The same logic that applies to indoor fixtures applies outside — our guide on how to do a faucet handle replacement yourself walks through matching the broach (the splined pattern inside the handle) so the new one actually grips the stem.
Which part is actually broken? A quick symptom-to-fix table
Here’s the fastest way to match your symptom to the real cause and the likely cost, so you buy the right part once instead of guessing twice.
| Symptom | Most likely cause | Fix | Typical cost |
|---|---|---|---|
| No water at all, handle turns freely | Closed indoor shutoff or frozen/burst pipe | Open shutoff; inspect pipe for splits | $0 or plumber |
| Trickle only, handle fully open | Scaled seat or disintegrated washer | Clean seat, replace stem washer | $3–$10 |
| Leaks from spout when closed | Worn seat washer or pitted seat | Replace washer; reface/replace seat | $3–$15 |
| Leaks around handle when open | Worn packing washer / O-ring | Tighten or replace packing | $2–$5 |
| Handle spins, no water control | Stripped stem or handle broach | Replace stem or handle | $8–$20 |
| Water gushes inside wall, none outside | Frost-cracked frost-free sillcock | Replace full sillcock (pro job) | $150–$350 |
How do I fix a garden hose tap not working, step by step?
For the most common case — a compression hose bib with a bad washer or scaled seat — you can fully rebuild it in about 20 minutes with a crescent wrench, a screwdriver, and a $5 washer kit. Here’s the clean sequence.
- Shut off the supply at the indoor valve, then open the outdoor tap to drain the line and relieve pressure.
- Remove the handle screw and pull the handle off the stem.
- Loosen the packing nut with a wrench and unscrew the entire stem assembly out of the valve body.
- Inspect the bottom washer. Unscrew the small brass screw holding it and replace it with an exact-size match — wrong size is the #1 reason a “fixed” tap still drips.
- Clean the valve seat inside the body with vinegar and a pick, or reface it if it’s rough.
- Replace the packing washer/O-ring on the stem while you’re in there — it’s cheap insurance against a handle leak later.
- Reassemble in reverse, snug the packing nut, reattach the handle, restore water, and test at full open and fully closed.
If, after all this, the valve body itself is cracked or the threads where the hose attaches are stripped, it’s time to replace the whole tap rather than keep rebuilding it. A quality replacement hose bib is inexpensive and, honestly, a worthwhile upgrade if yours is a decades-old builder-grade unit. The same weekend-repair mindset applies to a dripping outdoor valve — see our companion walkthrough on how to fix a leaky exterior water faucet yourself for the leak-specific details.
Should I repair or just replace my outdoor tap?
Replace it if the valve body is cracked, the hose threads are stripped, or it’s a frost-free sillcock that froze and split — repair it if the only issue is a washer, packing, or scale. A rebuild makes sense on a sound brass body; throwing parts at a corroded or cracked one is false economy.
A few decision points worth weighing:
- Age and material. Solid brass or bronze taps last decades and are worth rebuilding. Thin die-cast “pot metal” or plastic-bodied taps are cheaper to replace than to fix. If you’re curious why material matters so much for longevity, our brass vs stainless steel faucet manufacturing breakdown covers corrosion resistance and lead-safety directly.
- Climate. If you’re in a freeze zone and still running a standard compression bib, upgrading to a frost-free sillcock (which shuts the water off deep inside the heated wall) prevents the exact burst-pipe failure that ends most outdoor taps.
- Valve type. Older compression taps rely on that rubber washer wearing against a seat every single use. A quarter-turn ceramic-disc hose bib eliminates the washer entirely and lasts far longer — the same durability edge we cover in ceramic disc vs ball valve faucets.
My honest rule of thumb: if the repair is a washer and packing, fix it — you’ll be done for under $10. If you’re staring at a cracked body, a stripped spout, or a frozen sillcock, replace it and, if you’re in cold country, go frost-free while the wall is open. You’ll never fight a “garden hose tap not working” problem in April again.
How do I stop this from happening again?
The single biggest cause of a dead outdoor tap in spring is winter freeze damage, and it’s almost entirely preventable. Before the first hard frost: disconnect every hose (a connected hose traps water in the valve and lets it freeze back into the pipe), close the indoor shutoff feeding the line, then open the outdoor tap to drain it fully and leave it open through winter.
Beyond winterizing:
- Fit an insulated faucet cover in freeze zones — they cost a few dollars and save a $300 sillcock replacement.
- Don’t overtighten hose connections; crushing the tap’s outlet threads or the hose washer is a slow leak in the making.
- Keep a spare washer/O-ring kit on the shelf so a quick fix stays a quick fix.
- If you have hard water, exercise the tap monthly in season so the stem doesn’t seize with scale.
FAQ
Why is my garden hose tap not working after winter even though nothing looks broken?
Ninety percent of the time it’s freeze damage you can’t see from outside: the pipe or frost-free sillcock cracked internally when trapped water expanded. The tell is water running loudly inside the wall when you open the tap while little or nothing comes out the spout. That needs a plumber and usually a full sillcock replacement, not a washer swap.
My tap works but no water reaches the hose end — is the tap broken?
Probably not. Disconnect the hose and open the tap bare. If water flows freely, the tap is fine and the blockage is in the hose (a collapsed inner liner), the nozzle, or a splitter with a stuck internal valve. Replace or flush the accessory rather than repairing the tap.
How much does it cost to fix an outdoor faucet that won’t work?
A DIY washer-and-packing rebuild runs $3–$15 in parts and about 20 minutes. Replacing the whole hose bib is $15–$40 for the part. A frost-cracked frost-free sillcock replaced by a plumber typically runs $150–$350 depending on access and pipe work.
Can I fix a garden hose tap without turning off the main water?
You should never open the valve body under pressure, but you rarely need the whole-house main. Most outdoor taps have a dedicated indoor shutoff a few feet from where the pipe exits the wall — close that, open the tap to bleed pressure, and you can safely work on just that line while the rest of the house keeps water.
Is a frost-free tap worth it if my current one keeps failing every winter?
Yes, if you live anywhere that freezes. A frost-free sillcock closes the water deep inside the heated wall, so no water sits in the exposed section to freeze and burst. It’s the definitive fix for repeat winter failures and costs only modestly more than a standard bib to install during a replacement.
Why does my outdoor tap drip even after I replaced the washer?
Usually a wrong-size or wrong-type washer, or a pitted valve seat the new washer can’t seal against. Confirm the washer exactly matches the original, and inspect the brass seat — if it’s rough or grooved, reface it with a seat tool or install a replaceable seat. A perfect washer on a damaged seat will always weep.
About the author: This guide was written by the vigacc product team, drawing on hands-on experience in faucet and valve engineering and years of fielding real-world “why won’t my tap work” questions from homeowners and installers.
About vigacc: vigacc (www.viga.cc) designs and manufactures faucets, shower systems, and bathroom fixtures for customers worldwide. Our hose bibs and valves are built from lead-safe brass and tested to international standards including cUPC and NSF/ANSI 61 for potable-water safety, pressure-cycle and salt-spray corrosion testing, and are backed by a multi-year manufacturer’s warranty. We build to spec so the valve that ships is the valve that lasts.
WeChat
Scan the QR Code with WeChat